User Guide
Installation
Using pip: (recommended)
Install and run from source code:
Clone the repo, create a virtual environment and then install using pip:
git clone https://github.com/antoineedy/istacky.git
cd istacky
python3 -m venv .
source bin/activate
pip install -e .
Warning
The Ipywidgets library is not very stable when used in VSCode. nbclient and nbconvert are two requirements that will be automatically downloaded when installing IStacky, and that should make the library work in VSCode. However, if you encounter any problem, please use Jupyter Lab instead
Usage
Example
Have a look at this notebook for an example you can run at home!
 Video tutorial
 Example
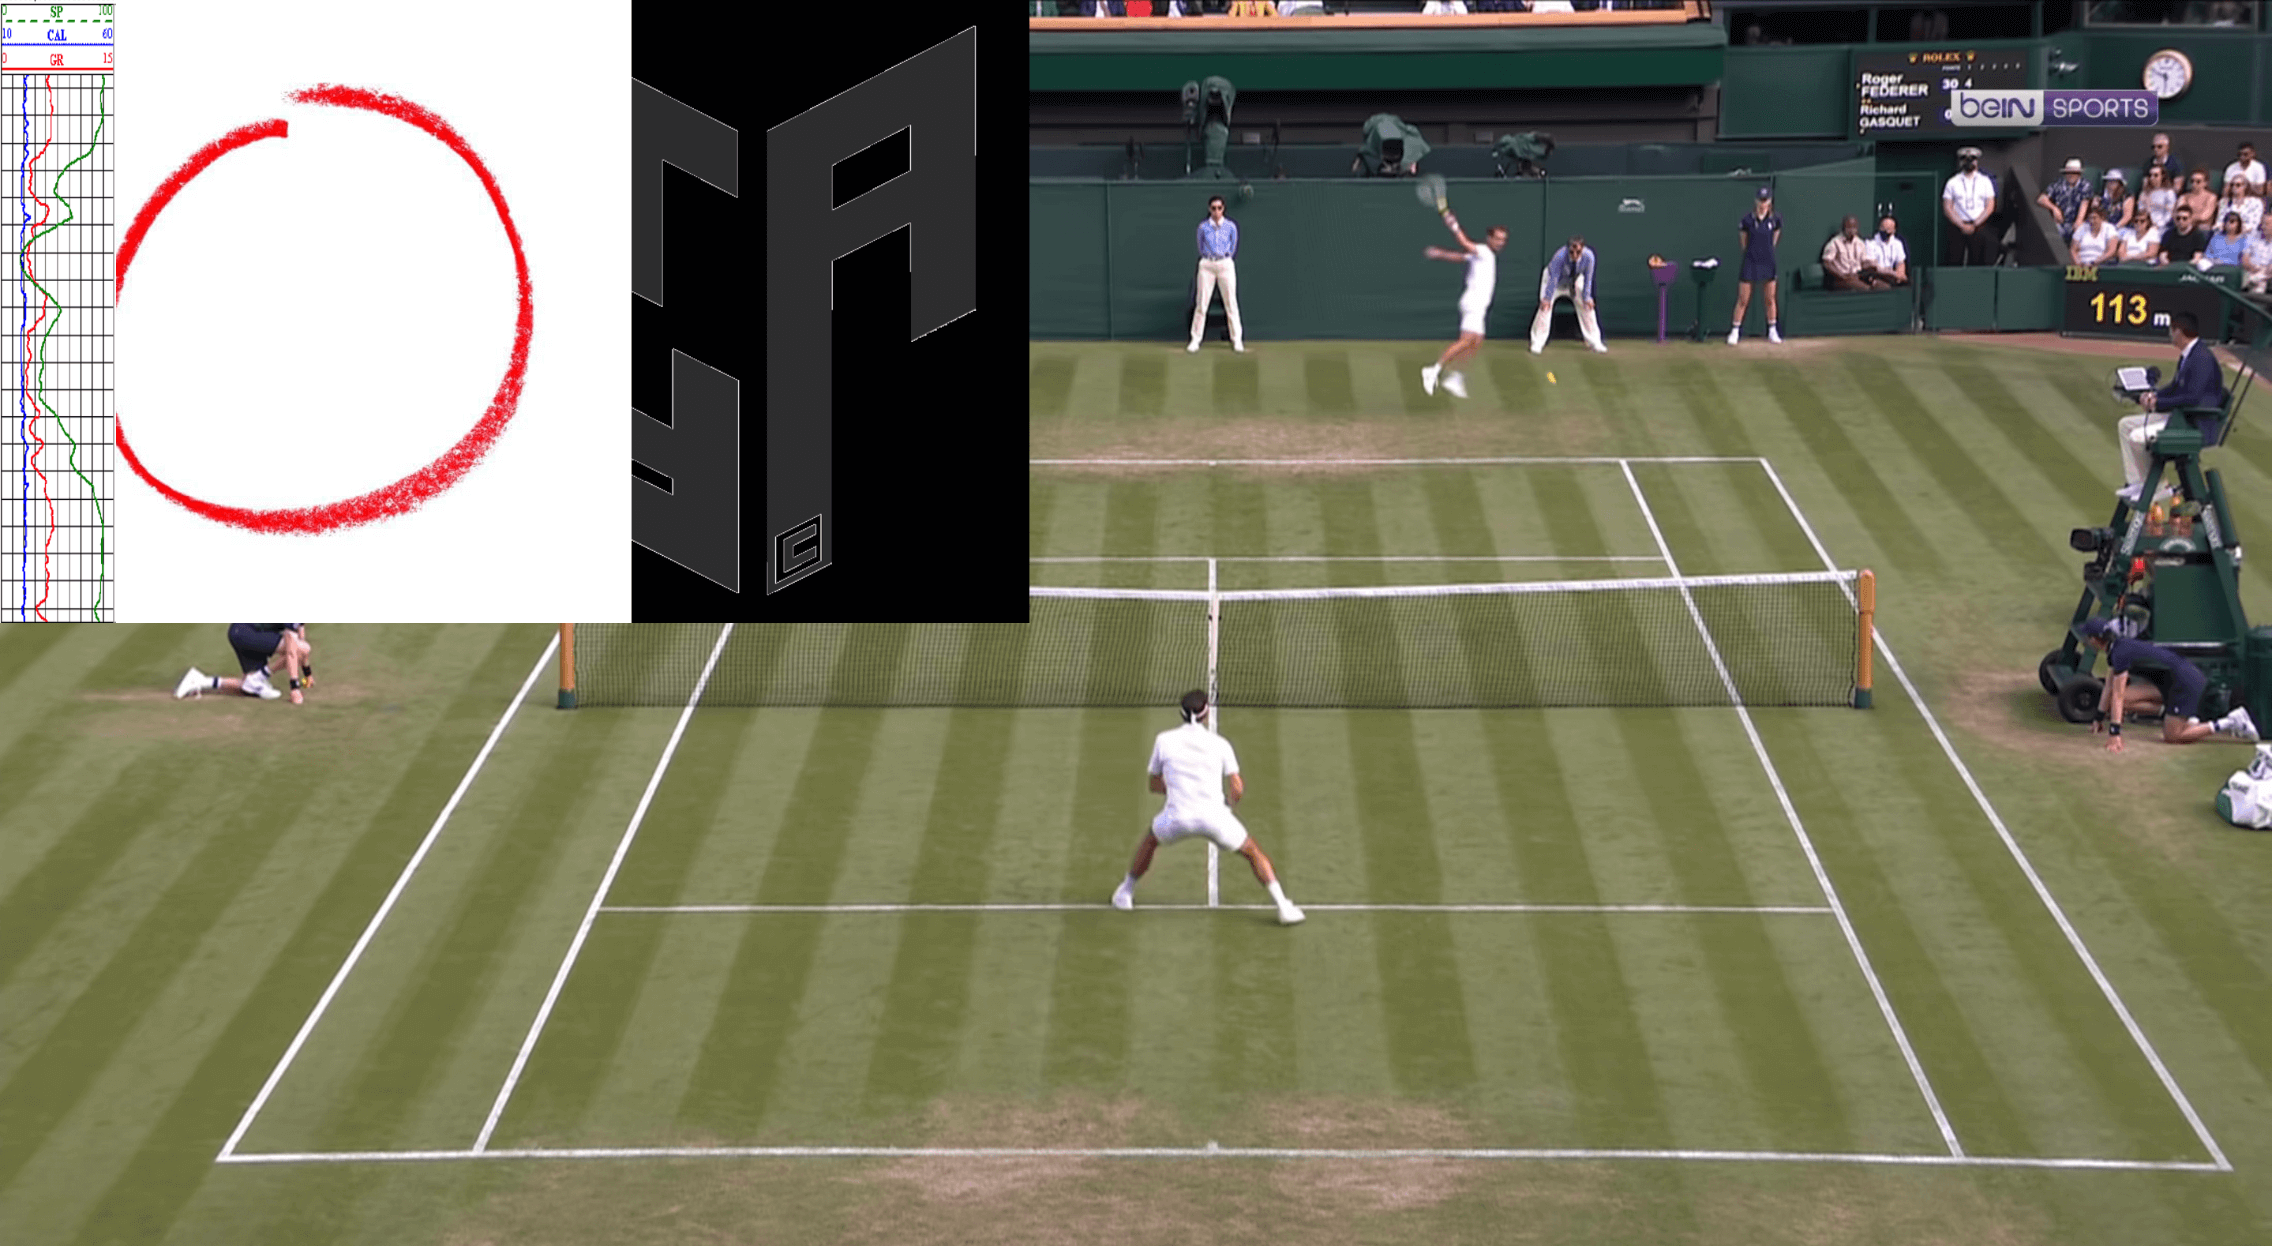
In our example, we want to create an output image, with a tennis point in background, and some plots, a circle and a logo on top of it. We will first import the libraries needed:
Then load the images we want to stack:
background = Image.open("image/background.png")
plot = Image.open("image/plot.png")
circle = Image.open("image/circle.png")
logo = Image.open("image/logo.png")
Create a BlendedImage object and display it:

The images are just stacked on top of each other! Let's apply some modifications to them:

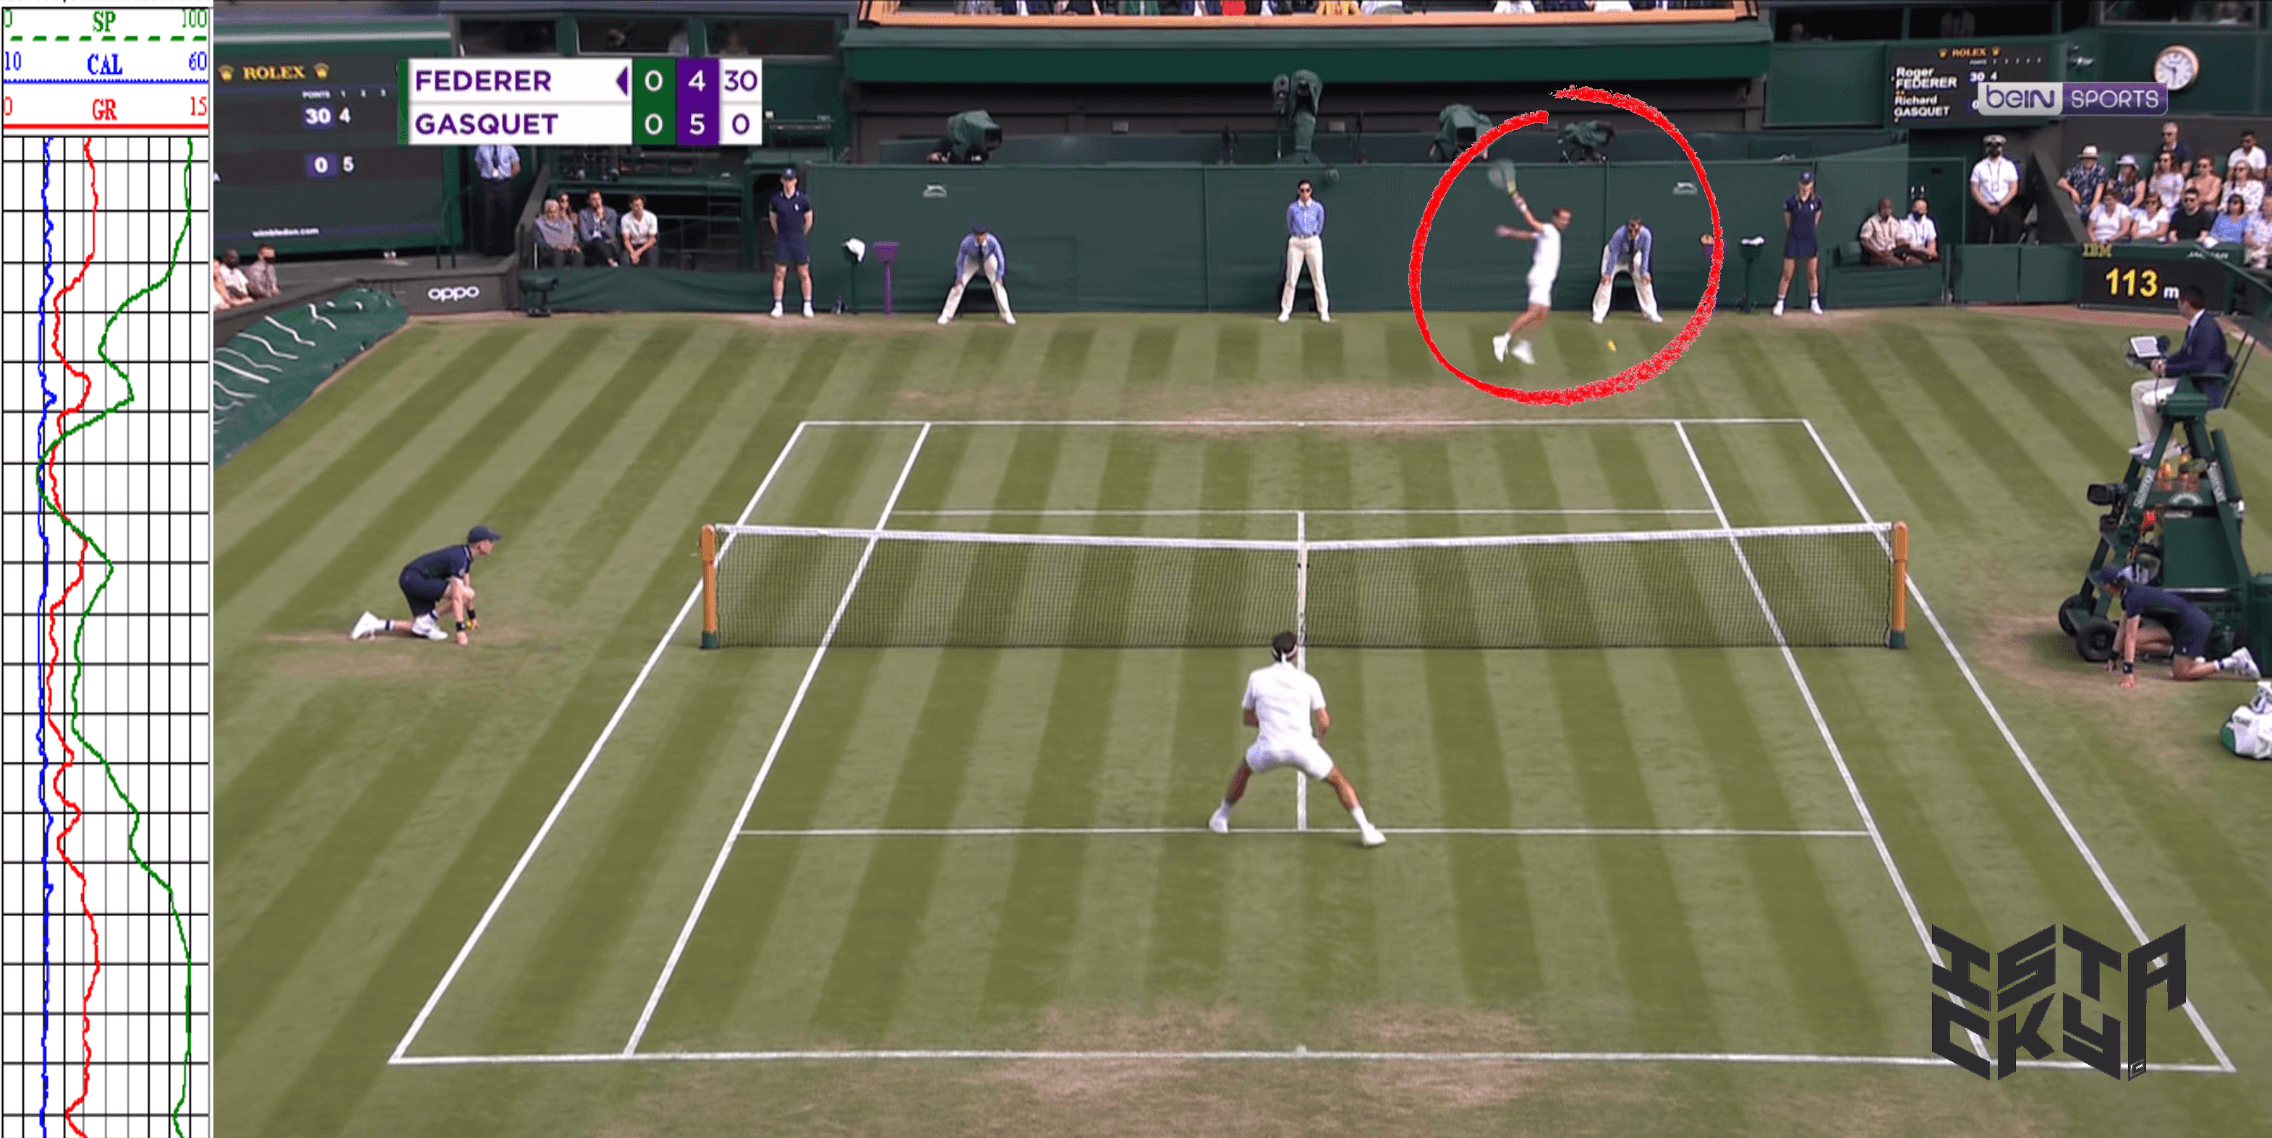
Calling editor displays a widget that allows you to apply modifications to the images. You can crop, resize, change the opacity, remove the background, add images, change the orders of the layers etc. In our case, we want to put the logo in one corner, circle the position of the ball and add a plot of the trajectory of the ball. After the changes, here is the final result:

Now, if we want to apply the same modifications to another image, we can have access to the code that was used to create the final image, and apply it to another one:
Let's import the new images.background2 = Image.open("image/background2.png")
plot2 = Image.open("image/plot2.png")
circle2 = Image.open("image/circle2.png")
new_blended = istacky.BlendedImage(
    background=plot2,
    images = [plot2, circle2, logo],
    code=my_code
    )

new_blended.show()

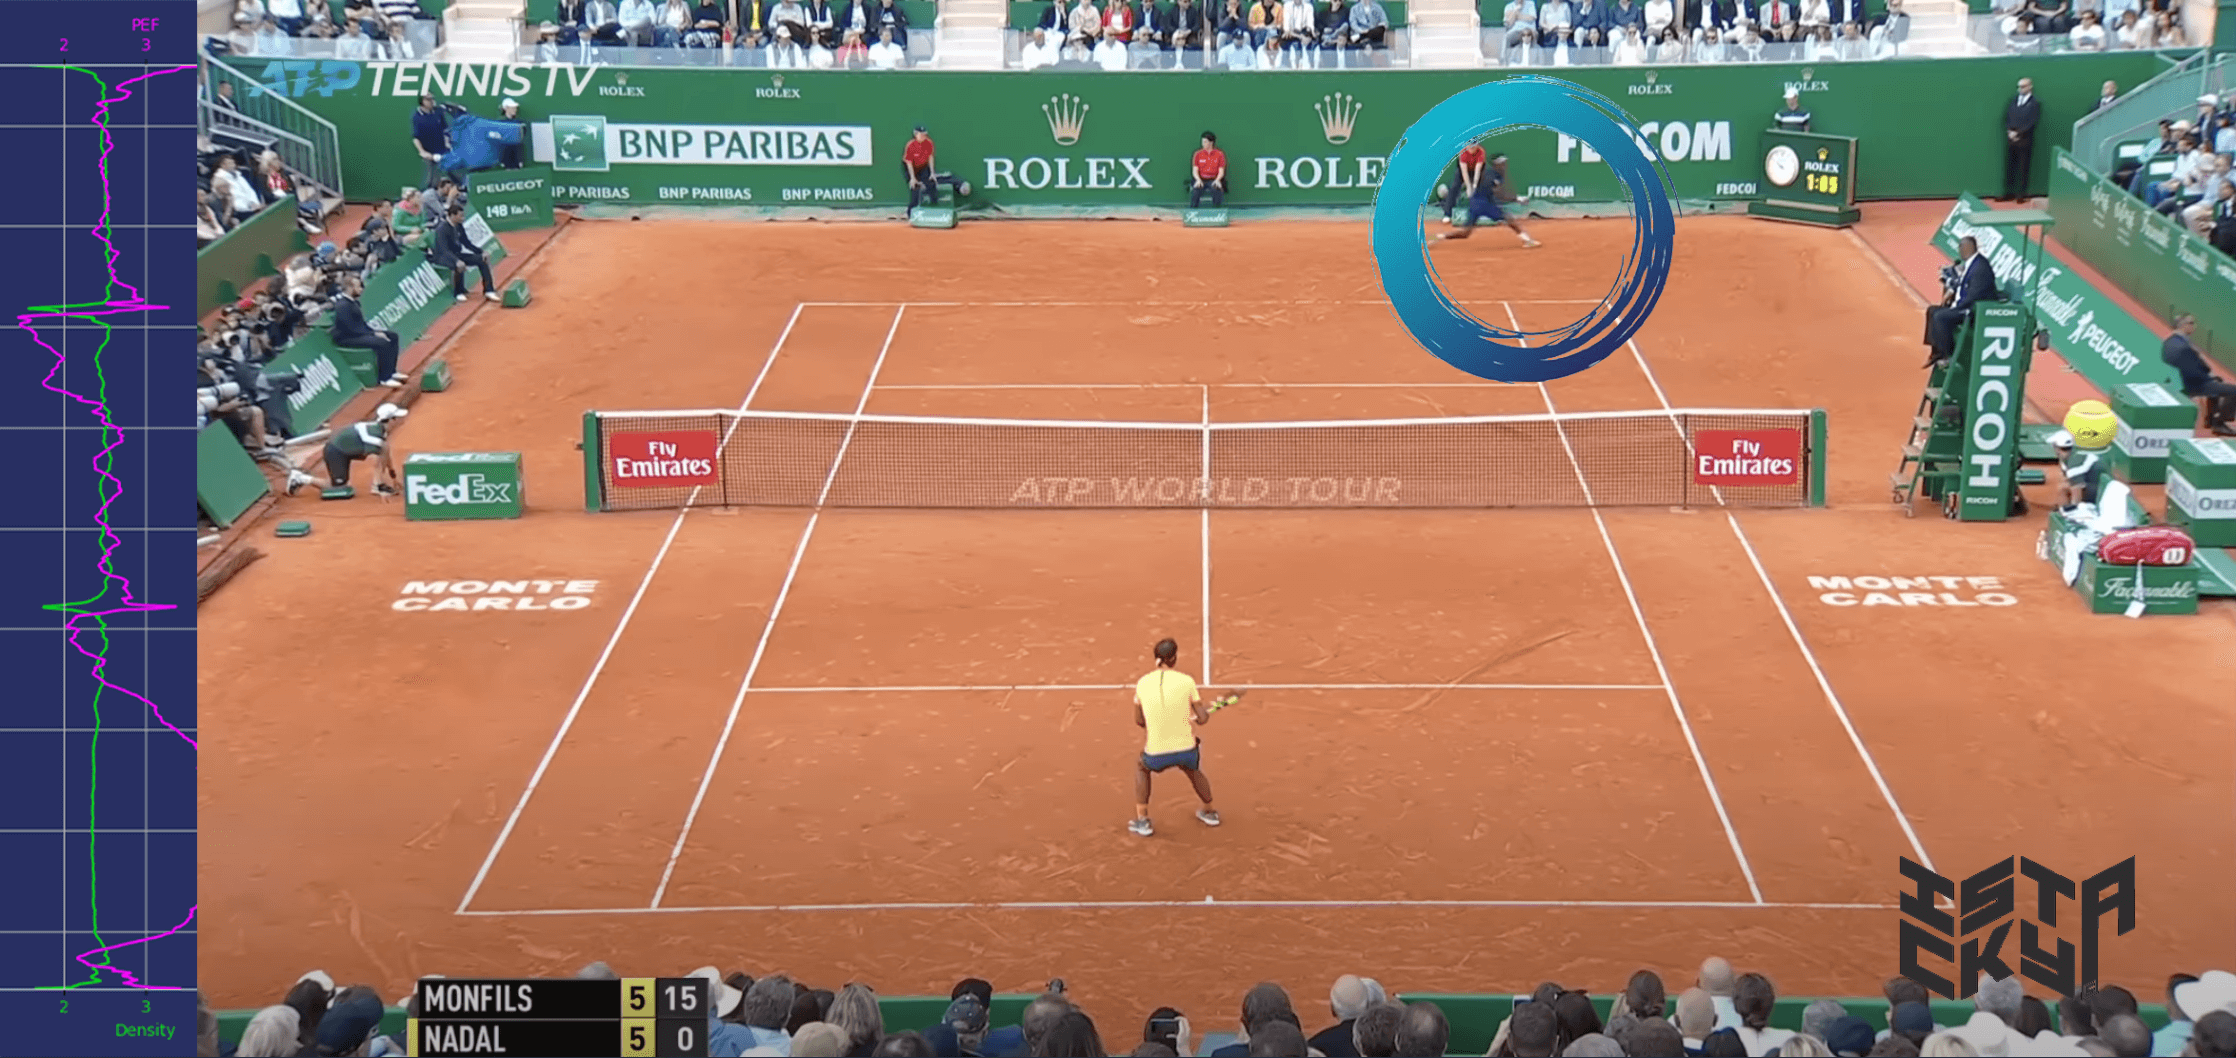
We can see that the modifications have been applied to the new images!
 GUI options
| Widget | Function | Values |
|---|---|---|
 |
Switch between layers | \(l \in ⟦1, N_{images}⟧\) |
 |
Reposition the image (\(x\) and \(y\) coordinates) | \(x \in [-I_{w}, Bg_{w} + I{w}]\) \(y \in [-Y_{h}, Bg_{h} + I_{h}]\) |
 |
Change the opacity of the selected layer | \(o\in[0, 1]\) |
 |
Remove one color of the selected layer | \([r, g, b] \in ⟦0, 255⟧^3\) |
 |
How close the removed colors must be from the selected color | \(t\in[0, 100]\) |
 |
The height of the selected image in % of the background height | \(s\in]0, 2]\) |
 |
Percentage of the selected image cropped in all 4 directions, and reseting the crop | \(c\in[0, 100]\) |
 |
Show the selected layer in the final image | \(s\in\{True, False\}\) |
 |
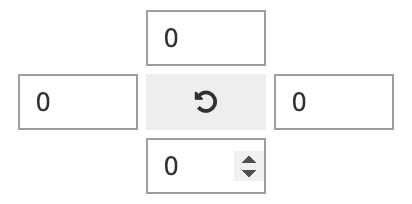
Crop or expand the background image (in pixels) in all 4 directions | \(c\in \mathbb{Z}\) |
 |
Reset the cropping of the background | |
 |
Copy the code of the current output to the clipboard | |
 |
Make a red border appear on the selected layer for editing purposes (does not appear on the final output) | \(v\in\{True, False\}\) |
 |
Set the size of the image displayed in pixels to fit all screen sizes (does not change the output size) | \(d\in]0, 1000]\) |
 |
Upload a new image to stack. Creates a new layer. | |
 |
To choose the new image to add from the user's computer. Made with ipyfilechooser | |